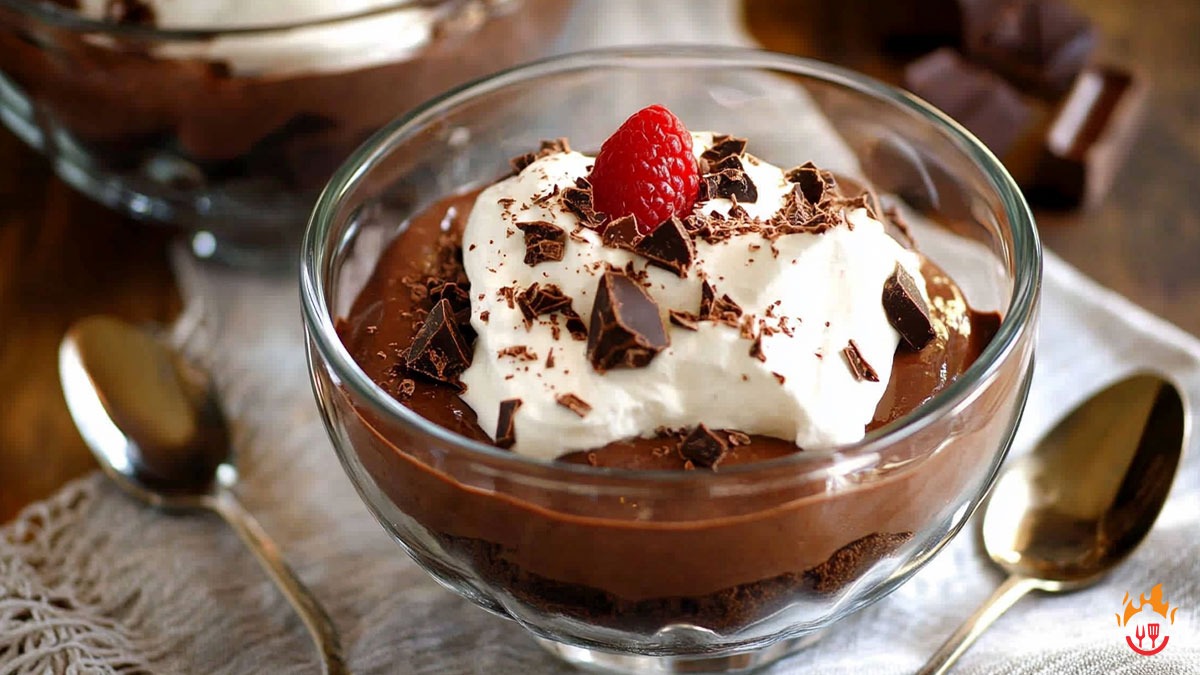
Craving a creamy, delicious treat without the dairy? This easy dairy-free pudding is the answer! With a few simple ingredients and under 15 minutes, you can make a rich homemade pudding in a blink of an eye.
It’s perfect for dessert, a snack, or a sweet pick-me-up. This pudding uses non-dairy milk and pantry staples, yes, only 6 simple ingredients. It is as smooth and indulgent as a traditional recipe, but it is dairy-free. It’s easily customizable too.
Want a classic vanilla pudding? Or a rich chocolate twist? This recipe will satisfy any craving. Plus, it’s naturally gluten-free and can be adjusted to fit various dietary needs. One spoonful, and it will become your new go-to pudding!
Why You’ll Love This Recipe?
There are many reasons to prefer dairy-free pudding but this recipe will surely become your favorite once you try this out. Some of the reasons are:
- This recipe is dairy-free, but it’s still lusciously delicious and satisfies any craving for a classic pudding.
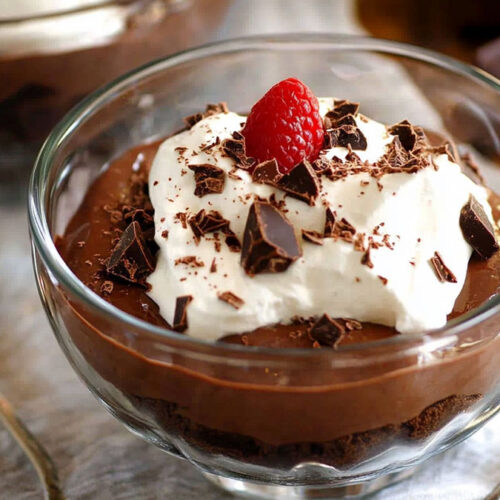
- This pudding is extra chocolaty and irresistible. It uses cocoa powder and melted chocolate chips
- This pudding recipe uses pantry staples, so it’s easy to make without any special ingredients.
- It’s already dairy-free and can be gluten-free and nut-free. So, it suits many diets.
- This pudding is a crowd-pleaser, whether as a snack, dessert, or shared treat. Everyone can enjoy it.
- You can change the flavors by adding cinnamon, coffee, or orange zest to make it your own.
- Dairy-free pudding has all the comforting flavors of a classic pudding but it is better for those who avoid dairy.
How to Make Dairy-Free Pudding?
Dairy-free pudding is very easy to make in 5 easy steps, 12 minutes, and with ingredients that are kitchen staples. Only 6 ingredients are needed for this recipe.
Equipment
- A Medium Pot
- A Whisk
- A Plastic Wrap
- A Regular Bowl
- A Heat-safe Glass Bowl
Ingredients
- ¼ CUp Corn Starch: This is the primary thickening agent in this pudding recipe. When you put the starch on heat it gelatinizes. This gives the pudding its smooth, thick texture without eggs or dairy.
- ½ Cup Organic Cane Sugar: Sugar adds sweetness, balances the flavors of the pudding and improves the texture. It slightly interacts with the cornstarch and reduces the graininess.
- 6 Tbsp Unsweetened Cocoa Powder: Cocoa powder is not traditional for vanilla pudding but it adds a rich chocolate flavor. So it turns this into a chocolate variation. If the goal is vanilla pudding, these ingredients could be omitted. But for a chocolate twist, it adds depth and complexity.
- 3 Cups Non-Dairy Milk (Coconut Milk): It’s the liquid base for the pudding and a great choice for this recipe. It has a creamy, dairy-like texture which makes the pudding rich and smooth.
- 1 tsp Vanilla Extract: For a warm, aromatic flavor. This enhances the pudding’s sweetness even if it’s chocolate flavor.
- 1 CUp Dairy Free Chocolate Chips: Melted chocolate chips add a deep chocolate flavor and a rich texture to the pudding. It also contributes to the creaminess, making the pudding feel more indulgent.
Instructions
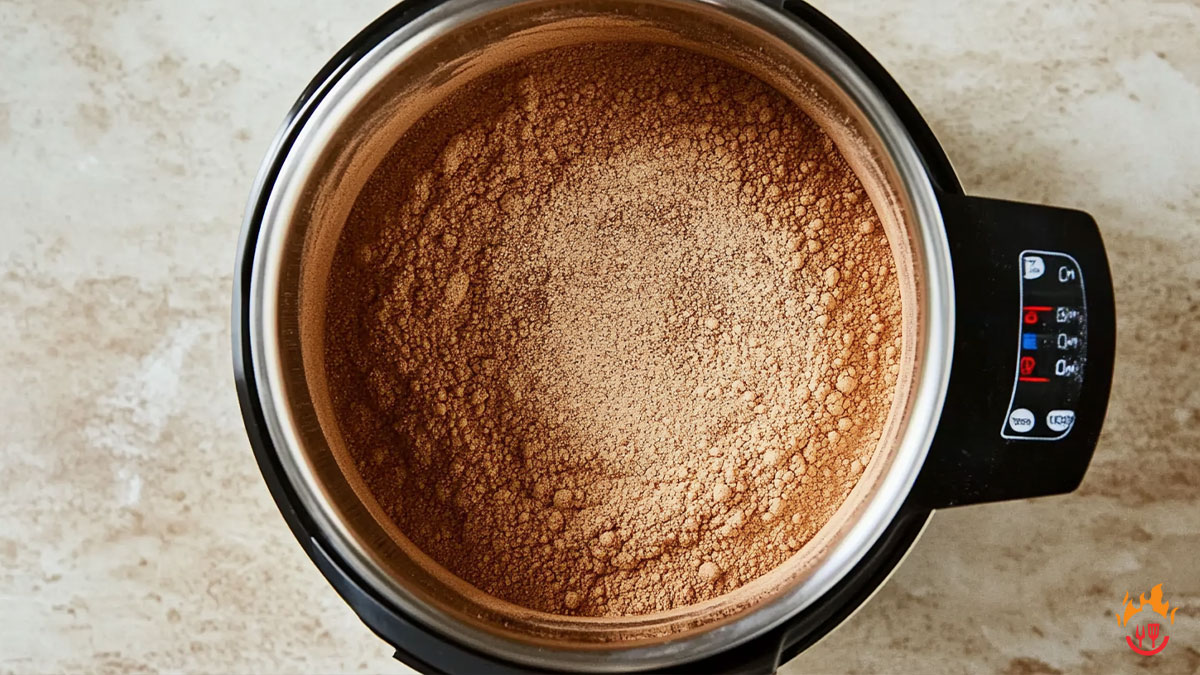
Step 1: Whisk the Mix
In a heavy pot, whisk the cornstarch, sugar, and cocoa powder together until they are well mixed.
Step 2: Add the Milk
Gradually add the non-dairy milk, one cup at a time, stirring well to break up any lumps. Set the pot over medium heat and keep stirring as it starts to thicken.
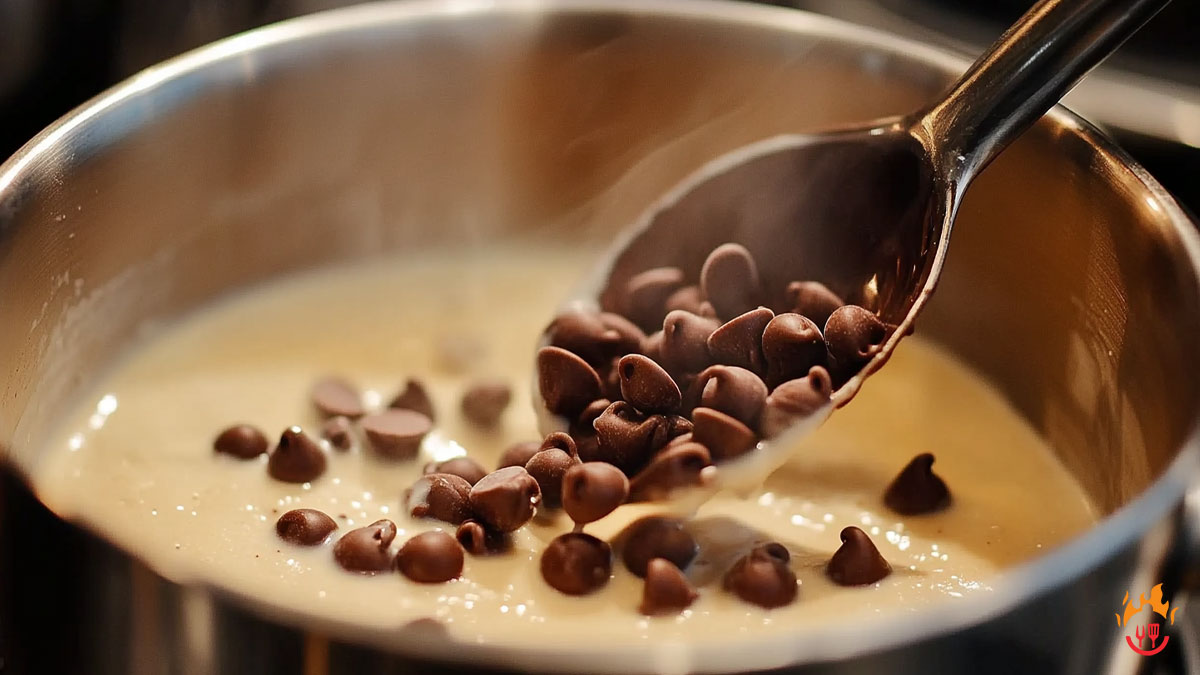
Step 3: Melt the Choco Chips
When the mixture is thick enough to coat a spoon, add the dairy-free chocolate chips and vanilla extract. Turn the heat to low and keep stirring until the chocolate chips are fully melted.
Step 4: Rest the Pudding
Pour the pudding into a heat-safe glass bowl and let it cool for about an hour. If you want to prevent skin from forming, press some plastic wrap directly onto the surface of the pudding.
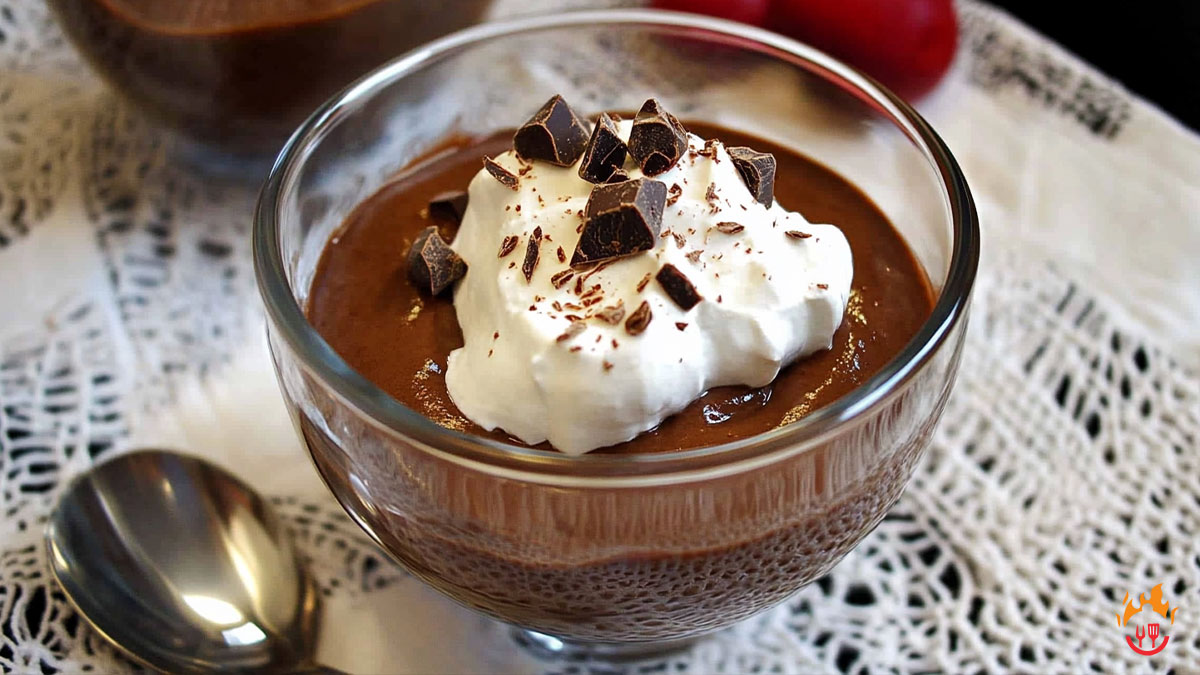
Step 5: Chill, Serve and Enjoy
Pop it in the fridge for at least three hours to set it completely. Once it’s chilled, dig in and enjoy!
Nutritional Facts
- Carbohydrates: 49g
- Protein: 5g
- Fat: 9g
- Saturated Fat: 4g
- Cholesterol: 4mg
- Sodium: 81mg
- Potassium: 226mg
- Fiber: 3g
- Sugar: 38g
- Vitamin A: 320IU
- Vitamin C: 0.2 mg
- Calcium: 191mg
- Iron: 1.6mg
Variations and Substitutions
Substitution Ideas:
- Cornstarch: Use arrowroot powder or tapioca starch in equal amounts if you don’t have cornstarch on hand.
- Non-Dairy Milk Options: Use almond, soy, oat, or cashew milk instead of coconut milk. Choose based on your preference or diet. For extra creaminess, try using full-fat canned coconut milk.
- Sweetener Alternatives: Replace the organic sugarcane with maple syrup, agave syrup, or coconut sugar. This will give a slightly different flavor. Note that liquid sweeteners may need more cornstarch to keep the pudding thick.
- Chocolate Chips: For more intense chocolate flavor, use dairy-free dark chocolate, chocolate chunks, or cacao nibs. If you want a lower-sugar option, go for unsweetened chocolate chips or reduce the amount used.
Variation Ideas:
- Classic Vanilla Pudding: Skip the cocoa powder and chocolate chips entirely. Increase the vanilla extract to 1½ teaspoons for a stronger vanilla flavor. Add a pinch of salt to enhance the overall taste.
- Mocha Pudding: Add 1 teaspoon of instant espresso powder to the dry ingredients for a delicious mocha twist.
- Peppermint Chocolate Pudding: Use ½ teaspoon of peppermint extract instead of the vanilla. It adds a festive, refreshing flavor.
- Peanut Butter Chocolate Pudding: Stir in 2 tablespoons of creamy peanut butter once the pudding has thickened for a rich, nutty twist.
- Cinnamon Spiced Pudding: Add ½ teaspoon of ground cinnamon (or more, if desired) to the cocoa powder for a warm, spicy flavor. For a Mexican hot chocolate vibe, add a pinch of cayenne pepper.
Storing and Reheating Recommendations
Storing Recommendations
- Refrigerator Storage: Transfer the cooled pudding into an airtight container or individual serving cups for pudding shots. Store in the refrigerator for up to 4 to 5 days.
- Freezer Storage: You can freeze the pudding if necessary but it will slightly alter the texture. Pour it into a freezer-safe container, cover tightly, and freeze for up to two months.
Reheating Recommendations
- Stovetop Method: Place the desired amount of pudding in a small pot over low heat. Add a splash of non-dairy milk if the pudding is too thick. Stir continuously until warmed through, making sure not to overheat to avoid burning.
- Microwave Method: Scoop a portion into a microwave-safe bowl. Heat in 20-second intervals, stirring in between, until the pudding is hot enough. If the pudding has become too thick, stir in a teaspoon of non-dairy milk smooth and creamy.
Cooking Tips and Tricks
- When you whisk the cornstarch, sugar, and cocoa powder, add the milk later on. This prevents clumping and ensures even distribution.
- Constant stirring is a must. Once the pot is on heat, stir constantly to prevent the pudding from sticking to the bottom and scorching. Use a silicone whisk or spatula to get into the corners of the pot.
- If small lumps form, sieve the mixture before adding the chocolate chips and vanilla to ensure a smooth texture.
- Use high-quality vanilla extract because it will greatly impact the taste of the pudding.
- To avoid thick skin forming on top of the pudding, press plastic wrap directly onto the surface while it cools. This will keep the texture smooth and creamy.
Some Other Puddings to Try
Surely this dairy-free pudding option is for people who are lactose intolerant or allergic to dairy. But if you’re not, you can try these famous blueberry pancake pudding, Dave’s bread pudding, etc. and your taste bud will thank you forever. But make sure you don’t indulge into them too much to affect your weight.
Frequently Asked Questions:
Can I Make This Pudding Without the Chocolate Chips and Cocoa Powder?
Absolutely! If you want a traditional vanilla pudding, skip the cocoa and chocolate chips. Increase the vanilla extract to 1½ teaspoons. This will boost the flavor of the pudding.
What’s the Best Non-Dairy Milk to Use for This Recipe?
Coconut milk is best for its creamy texture. But you can use any non-dairy milk you prefer, like almond, soy, oat, or cashew.
Can I Make This Pudding Ahead of Time?
Yes, this pudding can be made up to 2 days in advance. Store it in an airtight container in the refrigerator, and give it a quick stir before serving.
How Long Will This Pudding Last in the Refrigerator?
If the pudding is stored properly in an airtight container, it will stay fresh in the refrigerator for up to 4 to 5 days.
Is This Pudding SUitable for Children?
Yes, this recipe is perfect for kids! It’s dairy-free, can be made nut-free, and has a delicious, creamy texture that kids will love.
Conclusion
This dairy-free pudding will be a favorite since the recipe is such a hit. You can serve it as a snack, layer it with fruits for a parfait, or enjoy it as a dessert. It’s rich, creamy, and oh-so-satisfying – without a drop of dairy!
With endless ways to customize and enjoy it, you’ll want to make this recipe again and again. So go ahead, grab a spoon, and dig into this deliciously comforting treat that’s perfect for everyone!
Dairy Free Chocolate Pudding
Equipment
- A Medium Pot
- A Whisk
- A Plastic Wrap
- A Regular Bowl
- A Heat-safe Glass Bowl
Ingredients
- ¼ CUp Corn Starch
- ½ Cup Organic Cane Sugar
- 6 Tbsp Unsweetened Cocoa Powder
- 3 Cups Non-Dairy Milk (Coconut Milk)
- 1 tsp Vanilla Extract
- 1 CUp Dairy Free Chocolate Chips
Instructions
- In a heavy pot, whisk the cornstarch, sugar, and cocoa powder together until they are well mixed.
- Gradually add the non-dairy milk, one cup at a time, stirring well to break up any lumps. Set the pot over medium heat and keep stirring as it starts to thicken.
- When the mixture is thick enough to coat a spoon, add the dairy-free chocolate chips and vanilla extract. Turn the heat to low and keep stirring until the chocolate chips are fully melted.
- Pour the pudding into a heat-safe glass bowl and let it cool for about an hour. If you want to prevent skin from forming, press some plastic wrap directly onto the surface of the pudding.
- Pop it in the fridge for at least three hours to set it completely. Once it’s chilled, dig in and enjoy!

At Bridge House Tavern, we’re more than a team of food enthusiasts; we’re a culinary journey waiting to be savored. Our five-member crew is on a relentless quest to explore, create, and share the wonders of the gastronomic world.