Last updated on September 15th, 2024 at 10:11 pm
This Rice Krispie cookies recipe is super chewy and crunchy, and can be made in 30 minutes. Prepared with Rice Krispies, butter, oats, etc.
Rice Krispie cookies are famous for their bakery magic. Unlike your traditional oatmeal cookies, these Rice Krispies will make you cherish your love for the bakery. With a mix of chewy and crunchy, this Rice Krispie cookies recipe can be made in 30 minutes. Prepared with Rice Krispies, butter, oats, etc., this recipe is sure to grab your attention.
If you are reminiscing about the days when your grandma used to send you her ‘Secret Recipe Cookies’, you can surely try out this recipe. The recipe is made with similar ingredients. Make your kids go crazy for this super delicious confectionery delight.
Why Should You Try This Recipe?
This Rice Krispie cookie recipe will give you the ultimate satisfaction and fulfill your craving for cookies.
Cookies are a guilty pleasure for almost every one of us. But cookies with Rice Krispies are on the next level. Whether it’s a holiday or your cheat day, you most certainly should try it out. Devoured with the soft chewy delight, along with chocolate chips will bring you much joy.
Having two different chocolates in it, this recipe will give you a chocolatey satisfaction. The chocolatey flavor of chocolate chips and crunch bars will leave you in despair.
Recipe Overview
| Steps | Ingredients | Prep Time | Cooking Time | Yields | Calories | Food Type | Cuisine |
| 9 | 12 | 20 minutes | 10 minutes | 25 cookies | 101 kCal (per serving) | Dessert | American |
How to Make Rice Krispie Cookies
Equipment
- Oven: Needs to be preheated.
- Cooking Spray: To keep the dough from sticking.
- Cooking/Baking Sheets: To place the dough.
- Bowl: To mix the ingredients.
- Spatula: To combine the items properly.
- Electric Mixer: To ensure a thorough mixture of the wet items.
- Measuring Spoon: To place the dough on the sheets equally.
Ingredients
- 1 cup Flour: Avoid using brown flour or maize. They will make the cookies harder.
- ½ tsp Baking Soda: Baking soda will help in the crispiness.
- ¼ tsp Baking Powder: Do not put too much baking powder or you will not get the right moisture.
- ½ cup Butter: You can use both salted and unsalted butter. More will be discussed later.
- ½ cup White Sugar: You can increase a small amount, but I should not overpower the wet mix.
- ½ cup Brown Sugar: Some brown sugar will go along with the white sugar to help in texture.
- 1 Egg: Again, too many eggs will make the cookies soggy. One is enough for this recipe.
- ½ tsp Vanilla: To help in sweet flavor.
- 1 cup Rice Krispies: To add crunch to the cookies.
- 1 cup Oats: It will also make the cookies crispy.
- ½ cup Shredded Coconut: It will add a coconutty crunch to the cookies.
- 1 Crunch Bar: For extra crispiness, a crunch bar is a must!
Instructions
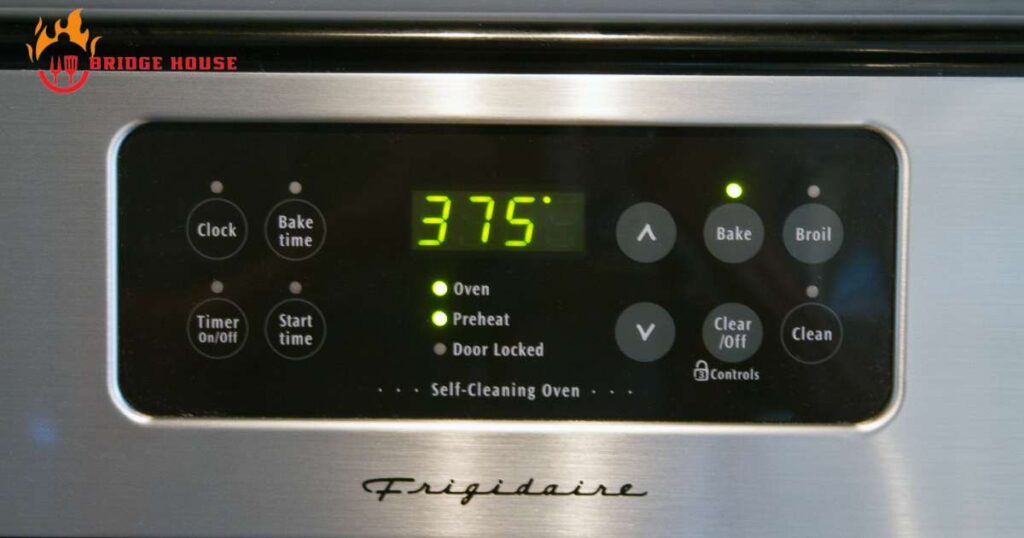
Step 1: Ready the Oven to Bake
The oven needs to be in the right environment before baking the cookies. You should preheat the oven to a certain temperature. Before starting anything, preheat the oven to 375°F. For toaster oven 350°F is enough.
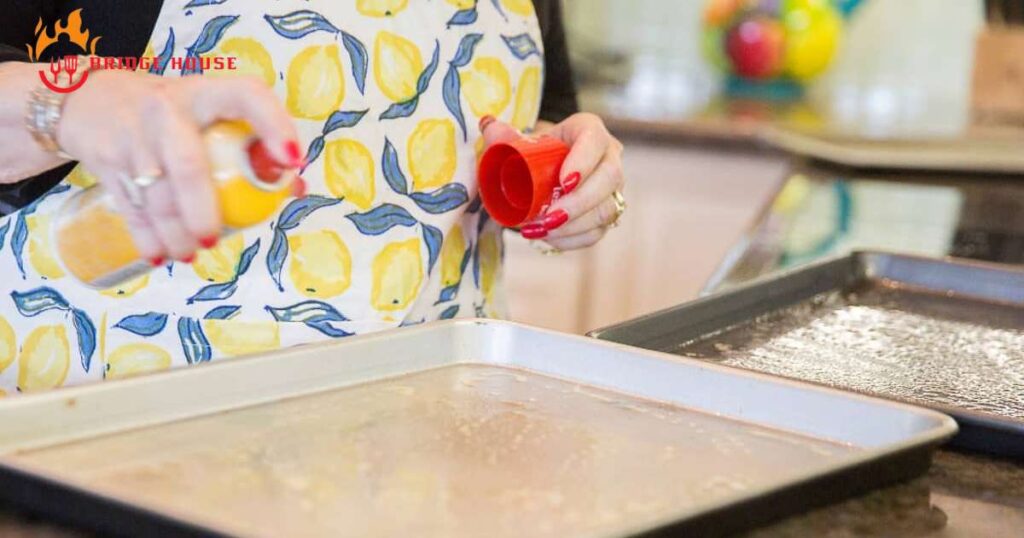
Step 2: Oil Spray the Sheets
Take 2 baking sheets and oil coat the sheets with the cooking spray. Here you will put the cookie dough and you do not want the sheets to stick. You can also give the sheets a light oil brush if you do not have the cooking spray.
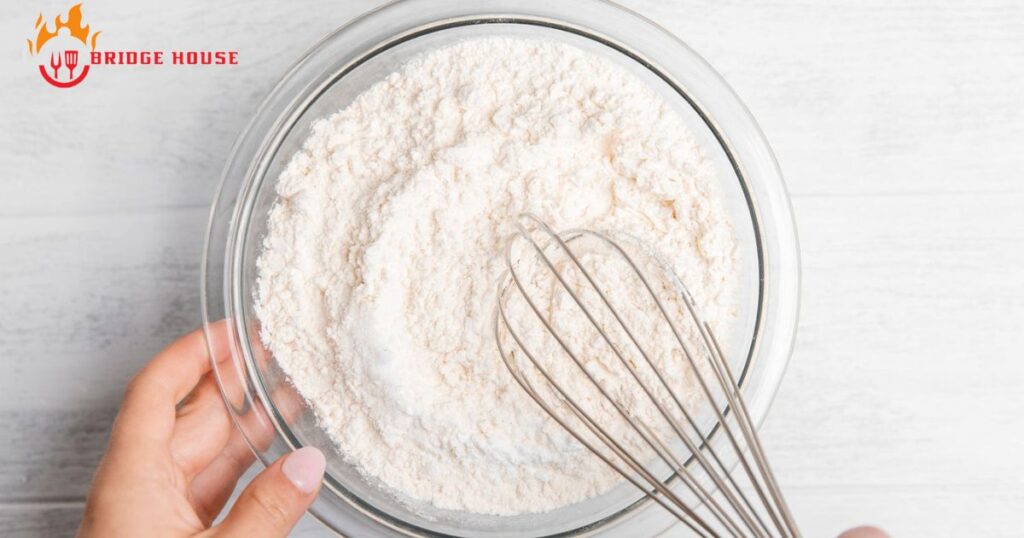
Step 3: Prepare the Dry Mix
After readying the pre-baking environment, it is time to start the main recipe. Prepare all the dry ingredients; flour, baking soda, baking powder, and salt in a bowl.
Stir it with a spoon or spatula until the items fully combined. Don’t add the sugar here even if it’s a dry item. Sugar will be added to the wet ingredients.
Note: You can use a fine mesh and take out the lumps from the flour. It will help to prevent clumps from forming.
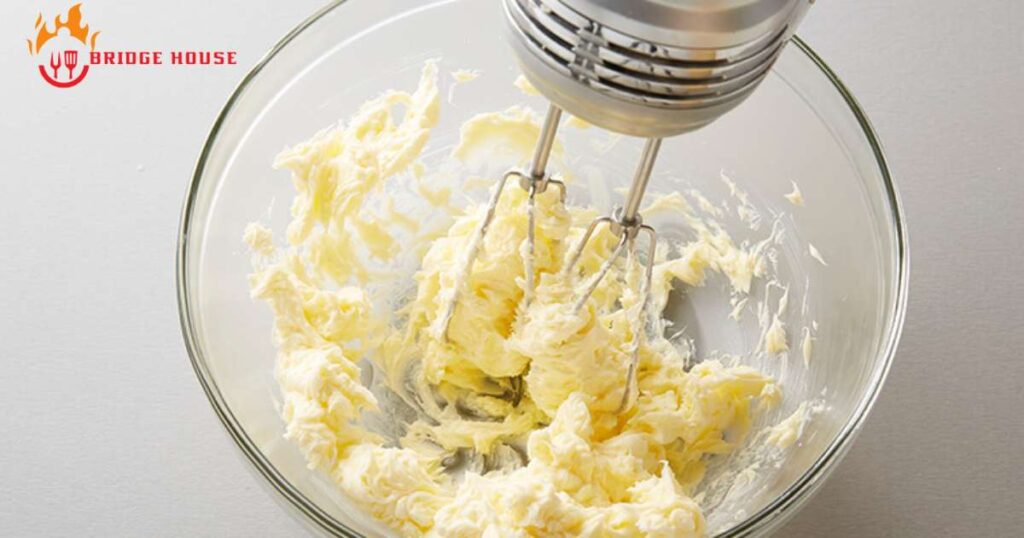
Step 4: Blend the Wet Ingredients
After preparing the dry items, toss the butter into the mixer. Beat the butter until it’s soft and fluffy. Add the sweeteners (white sugar and brown sugar) and beat it again.
When these are blended well, add eggs and vanilla to the mixer. Blend it again until it has a smooth texture.
Step 5: Mix the Dough
Take the wet mix from the mixer and add bit by bit to the dry mix. Remember not to make clumps of flour. Avoid them by mixing them with a spatula. Once the dough is made, add the cereals, oats, broken crunch bars, and coconuts to the dough.
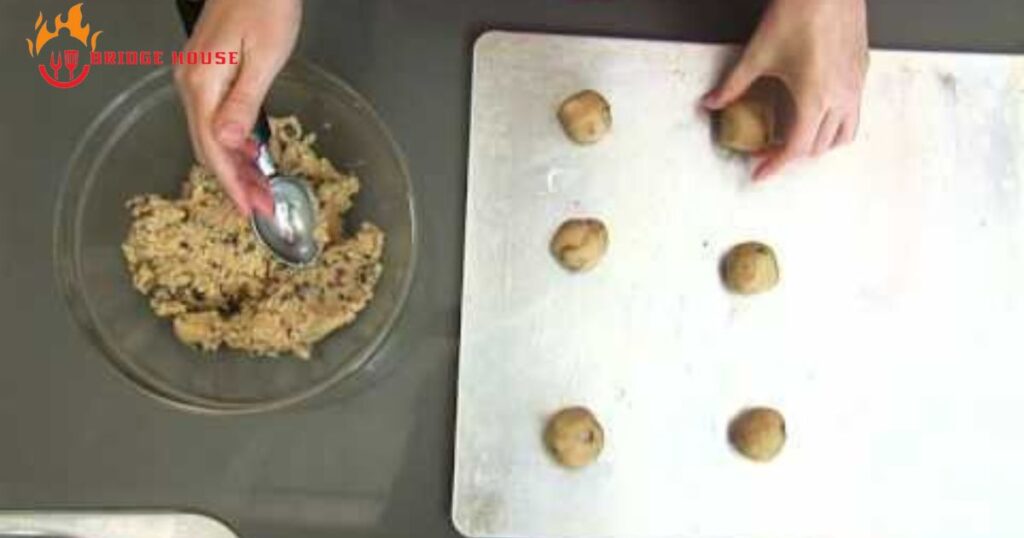
Step 6: Put the Dough on the Sheets
Take a measuring spoon and add cookie dough part by part to the baking sheets. Make sure to leave enough space in between the cookies.
Remember, the cookies will get bigger at the time of baking. So it is better not to put too much cookie dough on one sheet. Keep about 2” of gap surrounding them.

Step 7: Bake the Cookies
As the setup is ready, put the sheets inside the oven. Bake for 12 minutes. You can see when the cookies turn brown. That’s when you know your cookies are ready.
Step 8: Wait to Cool Down
After baking, take out the sheets from the oven. Make sure to wear oven mitts or you will burn your hands. Check for the cookie consistency by breaking one of them.
Keep the cookies on a wire rack and wait for them to cool down.

Step 9: Serve and Enjoy
Your cookies are ready! Taste the delights and keep some for your kids too. You can store the cookies in an airtight container.
Alternative Recipe: Rice Krispie Cookies with Marshmallow
Just like the cheese on a pizza, adding marshmallow to the cookies will make you taste a dessert heaven. Nothing can go wrong with a little marshmallow effect. Below is the additional step you need to do to include marshmallows in your cookies.
- After completing step 5, take some dough with a measuring spoon.
- Flatten the dough using your hands.
- Place a large marshmallow on the dough.
- Wrap the marshmallow with the dough and roll it into a bowl.
- Cover the dough ball with cereal and oat for an additional crunch.
- On a baking sheet, place them like before and bake for 15 minutes.
- After baking, wait for the cookies to cool down slightly and enjoy!
This recipe of rice krispies cookies will add an extra gooey filling to the cookies and make them more chewy and soft. The melt of marshmallows will surely satisfy your tongue! Remember that just like cheese, marshmallows will harden after cooling too much. This one is better to eat while still a bit warm.
For a Gluten-free Diet
You can alternate your regular flour with gluten-free flour. Don’t make your diet stop you from trying out this amazing recipe!
Diet Friendly Cereals
If you want to coat the cookies with cereal, you can either use Rice Krispies as in this recipe or an alternate rice crisp. Organic sprouted brown rice crisps will work better.
Key Aspects to Consider When Making Rice Krispie Cookies
The points stated below can be considered while you prepare the cookies and serve. These methods are tested to make the cookies taste more amazing and are used by people worldwide.
Turbinado Sugar
Turbinado sugar has an unusual texture to it. It will help refine your cookies both in appearance and consistency.
Salted Butter
Salted butter adds a hint of salt to the cookies. Many people prefer their cookies this way. But if you want them all sweet, you can use unsalted butter in the usual way.
Crushed Oats
Adding crushed oats to the cookie dough will add crunch to your cookie. It will make yet another mix of crunch and chewy.
Flaked Salt
One of Grandma’s secret methods is adding flakes of salt over the cookies. It balances out the sweet taste of the cookie. Note that, if you are using salted butter, it is better to avoid this step, as the cookie will already have a hint of salt in it.
Tips for Storing Cookies
You can store your cookies for up to a week in an airtight container. If you leave them open, the cookies may dry out. It will also become stale for keeping out for a longer period.
You can also keep them in a zip-back. To keep your tummy full, take them along with you when you’re out.
Notes
Making cookies was never a hard task for confectionery enthusiasts. With this simple and delicate recipe, you can make about 20-25 cookies in a go. In only 30 minutes, you can make the softest and crunchiest cookies very simply.
This easy to make recipe includes ingredients that are always available everywhere. Using simple items like sugar, vanilla, baking soda, baking powder, and flour, you can spend your holiday with an amazing twist.
You can try all the alternative methods as above and experiment with the key aspects. The result will leave you in awe of the cookie magic.
Nutritional Factors
The necessary nutritional factors are mentioned below:
| Nutrient | Amount Per Cookie |
| Calories | 1120.1 kcal |
| Carbohydrates | 432 g |
| Total Fat | 48 g |
| Saturated Fat | 30.3 g |
| Cholesterol | 172 mg |
| Sodium | 1000.4 mg |
| Total Carbohydrate | 162 g |
| Dietary Fiber | 5.5 g |
| Sugar | 92. g |
| Iron | 1mg |
FAQs
1. Question: What makes cookies hard?
Answer: Adding too much baking soda and flour.
2. Question: How long can homemade cookies last?
Answer: Homemade cookies will last for 1-2 weeks.
3. Question: Why are my cookies sticky?
Answer: Using more butter, eggs, or marshmallows will make cookies sticky and soggy.
4. Question: How do I package the cookies?
Answer: Store the cookies in an airtight containers or zip-bags
5. Question: How many items are needed to make rice-crispy cookies?
Answer: You need 12 simple ingredients for this recipe.
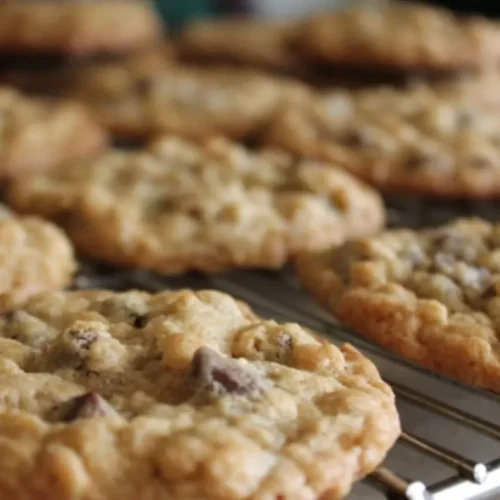
Homemade Rice Krispie Cookies
Equipment
- Cooking Spray
- Cooking/Baking Sheets
- Bowl
- Spatula
- Electric Mixer
- Measuring Spoon
Ingredients
- ½ tsp Baking Soda: Baking soda will help in the crispiness.
- ¼ tsp Baking Powder: Do not put too much baking powder or you will not get the right moisture.
- ½ cup Butter: You can use both salted and unsalted butter. More will be discussed later.
- ½ cup White Sugar: You can increase a small amount
- ½ cup Brown Sugar: Some brown sugar will go along with the white sugar to help in texture.
- 1 Egg
- ½ tsp Vanilla: To help in sweet flavor.
- 1 cup Rice Krispies: To add crunch to the cookies.
- 1 cup Oats: It will also make the cookies crispy.
- ½ cup Shredded Coconut: It will add a coconutty crunch to the cookies.
- 1 Crunch Bar: For extra crispiness
Instructions
- Step 1: Ready the Oven to Bake – The oven needs to be in the right environment before baking the cookies. You should preheat the oven to a certain temperature. Before starting anything, preheat the oven to 375°F.
- Step 2: Oil Spray the Sheets – Take 2 baking sheets and oil coat the sheets with the cooking spray. Here you will put the cookie dough and you do not want the sheets to stick. You can also give the sheets a light oil brush if you do not have the cooking spray.
- Step 3: Prepare the Dry Mix – After readying the pre-baking environment, it is time to start the main recipe. Prepare all the dry ingredients; flour, baking soda, baking powder, and salt in a bowl. Stir it with a spoon or spatula until the items fully combined. Don’t add the sugar here even if it’s a dry item. Sugar will be added to the wet ingredients.
- Step 4: Blend the Wet Ingredients – After preparing the dry items, toss the butter into the mixer. Beat the butter until it's soft and fluffy. Add the sweeteners (white sugar and brown sugar) and beat it again. When these are blended well, add eggs and vanilla to the mixer. Blend it again until it has a smooth texture.
- Step 5: Mix the Dough -Take the wet mix from the mixer and add bit by bit to the dry mix. Remember not to make clumps of flour. Avoid them by mixing them with a spatula. Once the dough is made, add the cereals, oats, broken crunch bars, and coconuts to the dough.
- Step 6: Put the Dough on the Sheets – Take a measuring spoon and add cookie dough part by part to the baking sheets. Make sure to leave enough space in between the cookies. Remember, the cookies will get bigger at the time of baking. So it is better not to put too much cookie dough on one sheet. Keep about 2” of gap surrounding them.
- Step 7: Bake the Cookies -As the setup is ready, put the sheets inside the oven. Bake for 12 minutes. You can see when the cookies turn brown. That’s when you know your cookies are ready.
- Step 8: Wait to Cool Down- After baking, take out the sheets from the oven. Make sure to wear oven mitts or you will burn your hands. Check for the cookie consistency by breaking one of them.
- Step 9: Serve and Enjoy -Your cookies are ready! Taste the delights and keep some for your kids too. You can store the cookies in an airtight container.

At Bridge House Tavern, we’re more than a team of food enthusiasts; we’re a culinary journey waiting to be savored. Our five-member crew is on a relentless quest to explore, create, and share the wonders of the gastronomic world.


